
LCD and Operation Panel
The mode button (A) on the operation panel allows you to switch between the copy mode, scan mode, fax mode, and setup menu screen.
Pressing the Menu/Wireless connect button (B) in the respective modes shows the menu screen to select various functions or settings.
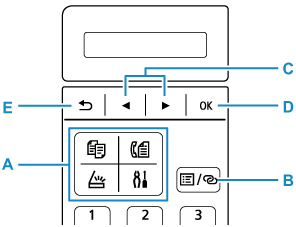
Selecting a Menu or Setting Item
On the menu screen or settings screen, use the 
 button (C) to select an item or option, then press the OK button (D) to proceed with the procedure.
To return to the previous screen, press the Back button (E).
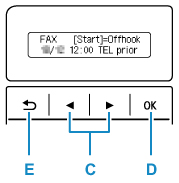
Example: Changing the scan contrast for faxing.
-
Press Menu/Wireless connect button in Fax standby screen.
-
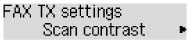
Press the
button (C) to select FAX TX settings.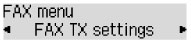
-
Press the OK button (D).
-
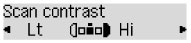
Select Scan contrast, press the OK button (D).
-
Use the
button (C) to change the contrast, then press the OK button (D).
Network Status Indication
Wi-Fi setting and the network status indicate by the icon.

If the  icon appears on the LCD when the SCAN button or Setup button is pressed, it indicates that Wi-Fi is enabled and the printer is connected to the wireless router.
Depending on the signal state, the icon will change.
 |
Signal strength: 81 % or more You can use the printer over Wi-Fi without any problems. |
 |
Signal strength: 51 % or more The problem such as the printer cannot print may occur according to the network status. We recommend placing the printer near the wireless router. |
 |
Signal strength: 50 % or less The problem such as the printer cannot print may occur. Place the printer near the wireless router. |
 |
Wi-Fi is enabled but the printer is not connected to the wireless router. |
![]() Note
Note
-
When Wi-Fi is disabled,
icon is not displayed.
