
Reinstalling the Printer
The basic workflow for reinstalling the printer is as follows.
For detailed instructions, see the Setup Guide.
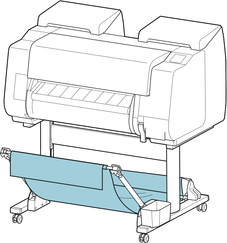
Assemble the stand (optional)
-
If you are using the optional Stand, assemble the Stand by referring to the Printer Stand Setup Guide included with the Stand.
 Caution
-
The Stand must be assembled by at least two people on a flat surface. Attempting assembly by yourself poses a risk of injury or bending the Stand.
-
When assembling the Stand, lock the casters. In addition, always unlock the casters before moving the assembled Stand. Attempting to move the stand when the casters are locked poses a risk of injury or damage to the location site.
-
Install the printer
-
Install the printer on a table or other flat surface.
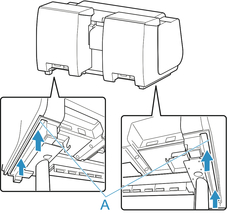
If you will use the printer on an optional Stand, assemble the Stand before mounting the printer on it, and then secure it with the Main Unit Securing Bolts.
 Caution
-
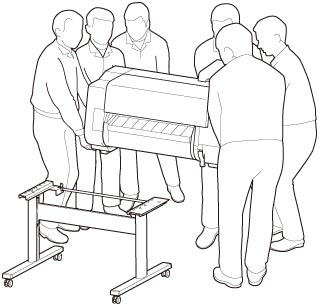
Moving the printer requires at least six people, holding it on both sides. Be careful to avoid back strain and other injuries.
-
When carrying the printer, hold it securely by the carrying grips on the bottom left, right, and rear. The printer may be unsteady if you hold it at other positions, which poses a risk of injury from dropping the printer.
-
-
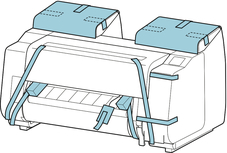
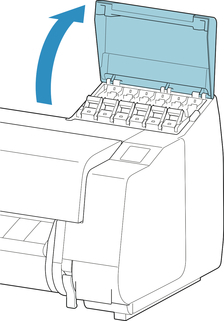
Remove tape and packaging material attached to the printer. Also open the top cover and remove stoppers and spacers inside the printer.
-
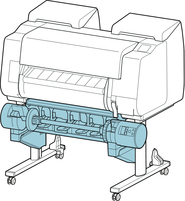
If using optional roll unit, refer to Setup Guide provided with roll unit and attach roll unit to Stand.
-
Refer to Printer Stand Setup Guide and attach basket to Stand.
-
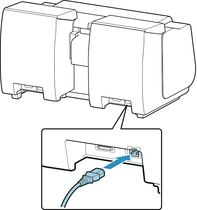
Connect the power cord to the power cord connector on the back of the printer.
-
Plug the power cord into the outlet.
-
Press the power button to turn the printer on.
When "Do you want to install the transported printer? Do not install the ink tanks yet." appears, tap Yes.
-
When instructions for loading ink tank appear on touch screen, open ink tank cover and load ink tank.
-
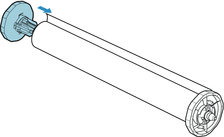
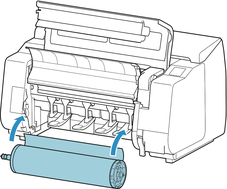
Attach the Roll Holder to the Roll Media.
(See "Loading Rolls on the Roll Holder.")
-
Load the Roll Media in the printer.
(See "Loading the Upper Roll on the Printer.")
-
Install the software.
Note that the driver installation procedure varies depending on the type of connection.
(See "Installing the Printer Driver" (Windows).)
(See "Installing the Printer Driver" (Mac OS).)
