
Registering Recipients in Group E-Mail
If you register two or more registered e-mail address to a group e-mail, you can send the same mail successively to all recipients registered to the group e-mail.
-
Flick HOME screen and tap
 Scan.
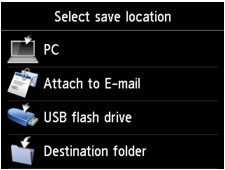
Scan.The screen for selecting to which you save the data is displayed.
-
Tap
 Attach to E-mail.
 -
Tap
 E-mail directly from device.
 -
Tap Edit e-mail address book.
-
Tap Display e-mail address book.
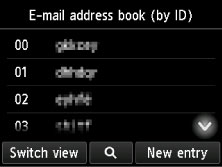
The screen to select an ID number is displayed.
 Note
Note- If you already registered the recipients, the recipients' name is displayed next to the ID number. If you already registered the group mail, the
 icon and the group name are displayed next to the ID number.
- If you already registered the recipients, the recipients' name is displayed next to the ID number. If you already registered the group mail, the
-
Select unregistered ID number.
Note- If you already registered the recipients and they are displayed by name, tap Switch view. The registered recipients are displayed by ID number.
- If you tap New entry, an unregistered ID number will be selected in numerical order.
-
Tap Register group e-mail.
The screen to register the group name and the member of the group is displayed.
-
Enter group name.
-
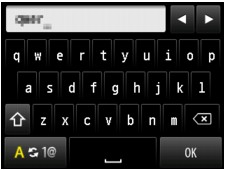
Tap entry field of group name.
The screen to enter the character is displayed.
-
Enter group name.
-
Tap OK.
Note-
You can enter the name up to 16 characters, including spaces.
-
-
Register the registered recipient as a member of the group e-mail.
-
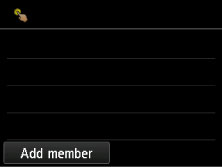
Tap Add member.
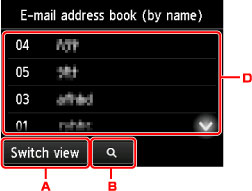
The address book is displayed.
Display by name
Display by ID number

-
Tap to switch the display by name and by ID number.
-
Tap to display the screen to select an initial. You can search the registered recipient by initial.
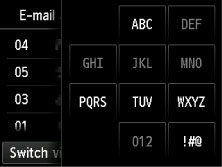
By selecting the initial, the registered recipients are displayed in alphabetical order from the selected character.
-
Tap to display the screen to select an ID number of the registered recipient. You can search the registered recipient by ID number.
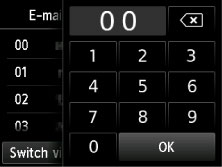
By entering the ID number and tapping OK, the registered recipients are displayed in order from the recipient of the ID number selected.
-
The recipients that can be registered are displayed.
-
-
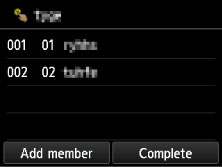
Tap recipient to register as group member.
The member to register is displayed on the list.
 Note
Note- To delete the recipient from the group e-mail, tap a recipient that you want to delete from the list. After the confirmation screen is displayed, tap Yes to delete the recipient from the group e-mail.
-
To add another member, tap Add member again.
The address book is displayed.
-
Tap recipient to register as group member.
The member to register is displayed on the list.
Repeat the procedure to register another member to the same group e-mail.
-
-
Tap Complete to finalize registration.
Note- To register another group, select an unregistered ID number and operate in the same procedure.
