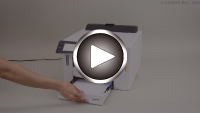
Loading Plain Paper, and Delivery Slips in Cassette
-
Prepare paper.
Align the edges of paper. If paper is curled, flatten it.

 Note
Note-
Align the edges of paper neatly before loading. Loading paper without aligning the edges may cause paper jams.
-
If paper is curled, hold the curled corners and gently bend them in the opposite direction until the paper becomes completely flat.
For details on how to flatten curled paper, see Check3 in Paper Is Smudged/Printed Surface Is Scratched/Ink Blots/Paper Curl.
-
-
Pull out the cassette (A) from the printer.

-
Slide paper guides (B) in front and (C) on right to open guides.
-
Load paper stack in portrait orientation WITH PRINT SIDE FACING DOWN, and place it in center of cassette.

 Important
-
Always load paper in portrait orientation (D). Loading paper in landscape orientation (E) can cause paper jams.

 Note
Note-
Align the paper stack with the edge of the cassette as shown in the figure below.
If the paper stack is in contact with the protrusion (F), the paper may not be fed properly.
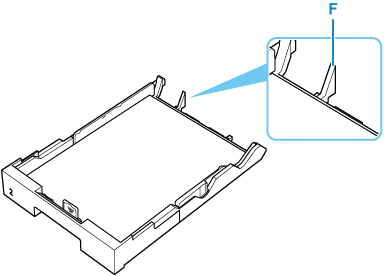
-
To load Legal-sized paper in Cassette 2, pull the resizing tab (J) forward to extend the cassette.
-
To load paper sizes other than Legal, use the cassette in its condensed state. To condense the cassette, pull the resizing tab (J) forward.

-
-
Slide paper guides (B and C) to align them with paper stack.
Do not slide the paper guides too hard against the paper. The paper may not be fed properly.

 Note
Note-
Do not load sheets of paper higher than the load limit mark (G).
-
Keep the paper stack height below the tabs (H) of the paper guides.

-
-
Insert cassette into printer.
Push the cassette into the printer until it stops.

After inserting the cassette into the printer, the screen asking you to confirm settings of paper in cassette appears on the touch screen.
-
When paper larger than A4 is loaded, the cassette is extended and thus stops in a protruding position from the printer. Forcefully pushing it in may cause damage to the printer or the cassette.
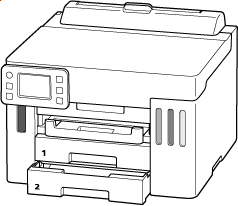
-
If page size and media type on touch screen match size and type of paper loaded in cassette, select Yes.
If not, select Change to change the settings in accordance with the size and type of the loaded paper.
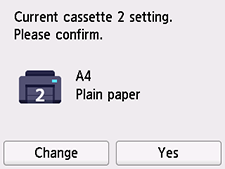
 Note
Note-
When loading a delivery slip, select Delivery Slip for media type.
-
See Check paper replacement when you want to hide the screen for confirming the setting of paper.
-
-
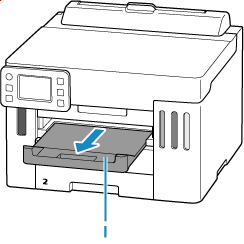
Pull out a paper output tray (I).
 Note
Note
 Note
Note
-
Depending on the paper used, ink on the printed surface of printed materials may come off or smudge when touched immediately after printing. If this happens, use the ink reduction feature in Print settings to reduce ink volume.
-
To prevent incorrect printing, this printer has a function that detects whether the settings for the paper loaded in the cassette matches the paper settings. Before printing, make print settings in accordance with the paper settings.
