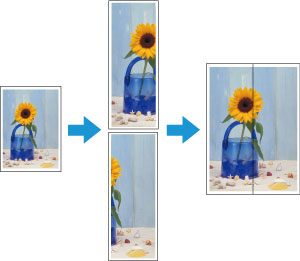
Divide Objects and Print (Tiling)
Divide a single page, and then print it.
You can align the printouts and glue them together to create a larger printed image.
-
Open the file you want to print, and then start Free Layout plus.
-
Click Tiling.
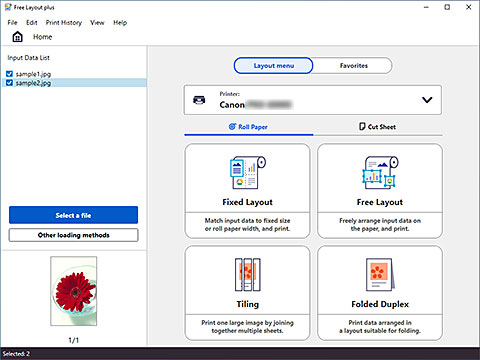
The page selection screen in the Tiling mode appears.
-
Select one page to print, and then click Next.

The edit screen in the Tiling mode appears.
-
Set the Roll Paper Width, Number of divisions, and other settings, and then click Next.
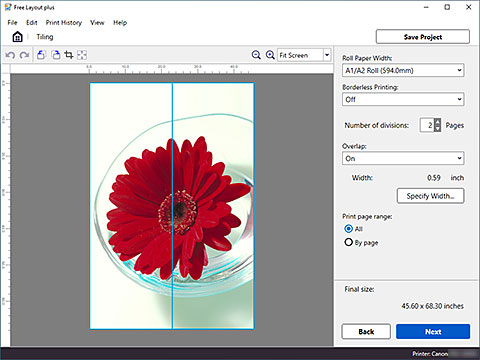
The print settings screen in the Tiling mode appears.
 Note
Note- By selecting On in Borderless Printing, the image is printed so a white margin does not appear on all four edges of the paper after the printouts are pasted together.
- In some models, Borderless Printing is labeled as Minimal Margin Printing instead. When labeled as Minimal Margin Printing, small margins will remain on the left and right sides during printing.
-
After setting the items related to printing, click Print.

Printing starts.
