Folded Duplex Mode
Clicking Folded Duplex on the Home screen opens the Folded Duplex mode.
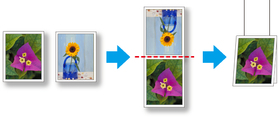
In the Folded Duplex mode, two pages are printed consecutively. You can create a kind of two-sided printout by folding it down the middle.
This can be used such as for advertising posters that are suspended from the ceiling.
Menu Bar
This allows you to select menus required for operations.

Main Area
In this area, you can select images and do other print settings.
 Note
Note
- Click
 in the main area to return to the Home screen.
Page Selection Screen
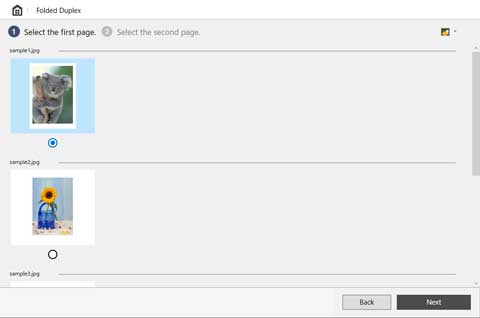
Select two pages to print in order, front and then back.
Selecting the page to use as the front, and then clicking Next, opens the screen for selecting the page to use for the back.
Selecting the page to use as the back, and then clicking Next, opens the edit screen.
 Note
Note
- You can change the size of the thumbnails by clicking
 /
/ /
/ .
. - If only one page of input data has been selected on the Home screen, then the edit screen opens, not the page selection screen, with the same image selected for both front and back.
Edit Screen
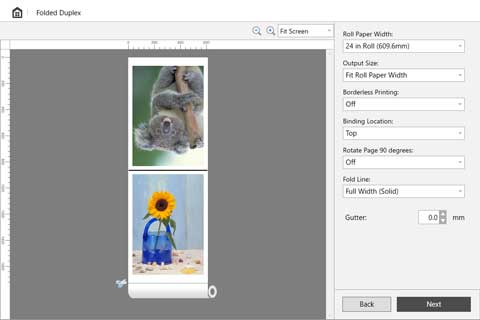
Do settings, such as the roll paper width and output size, as you check a preview of the print results.
Clicking Next closes editing and moves you to the print settings screen.
- Tool Bar
-
This allows you to select tool buttons required for major operations.

 (Enlarge/Reduce View)
-
Allows you to change the scaling ratio in the preview screen.
- Preview Area
-
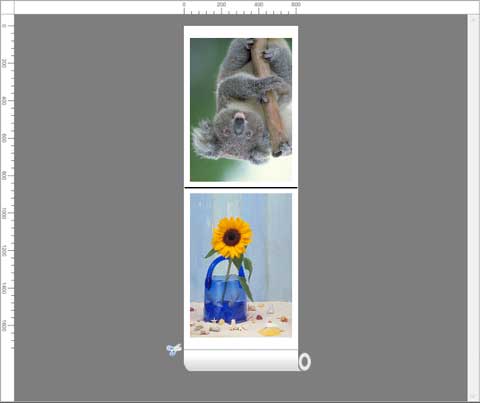
Shows a preview of the print results at the current settings.
- Edit Settings Area
-
Set the roll paper width, output size, etc.
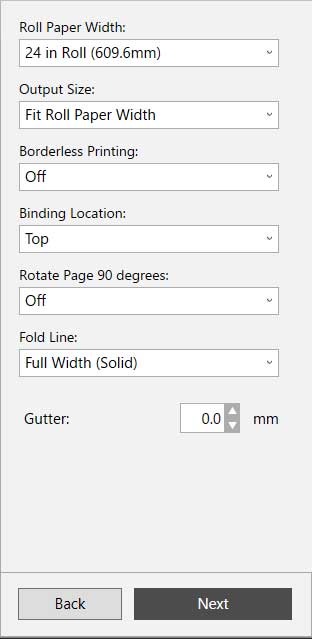
- Roll Paper Width
-
Set the width of the roll paper.
- Output Size
-
Set the output size.
 Note
Note- You can also change the size by specifying the width.
Select Custom size..., and then enter the finished width in the displayed Custom Size dialog box.
- You can also change the size by specifying the width.
- Borderless Printing
-
Set whether to do borderless printing.
Setting this to On expands the print area to both edges and to the leading edge of the paper. - Binding Location
-
Set the binding location when the paper is folded.
- Rotate Page 90 degrees
-
Set whether to rotate pages created in portrait orientation 90 degrees and print them in landscape orientation.
- Fold Line
-
Set the type of line to show where to fold the page.
- Gutter
-
Set the margin for the gutter.
Print Settings Screen
Click Next in the edit screen, and then do the print settings.
After setting the various items, click Print to start printing.
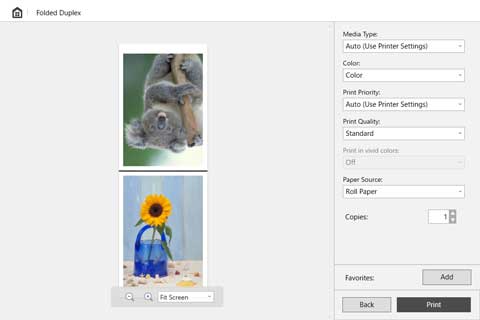
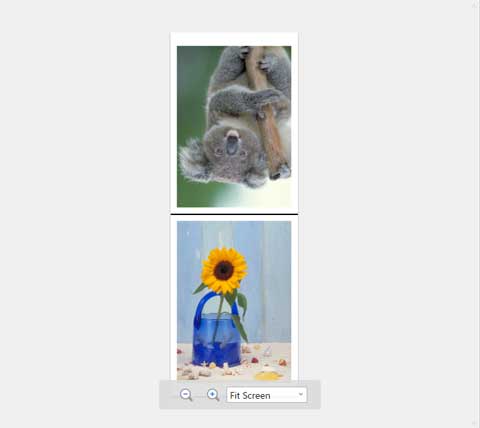
- Preview Area
-
Shows a preview of the print results.
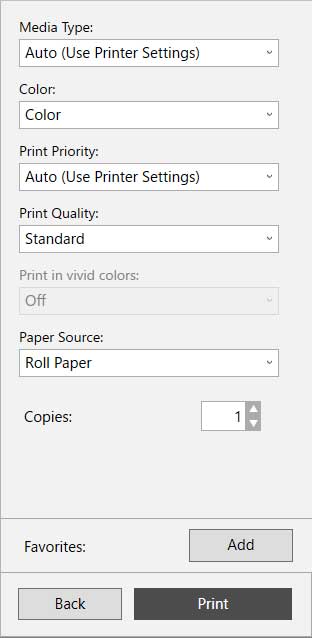
- Print Settings Area
-
Do the settings related to printing, such as the type of paper.
- Media Type
- Set the type of paper to print on.
- Color
- Set either Color or Monochrome for the color to print.
- Print Priority
- Set the elements to specifically emphasize in the print results.
- Print Quality
- Select the print quality that suits your objectives.
- Print in vivid colors
- Set whether to print in vivid colors.
- Paper Source
- Set how the paper is fed.
- Copies
- Set the number of copies to print.
- Favorites
- You can register the settings that are currently set in the edit screen and the print settings screen to Favorites by clicking Add. You can easily call up the settings that are registered in Favorites from the Favorites sheet on the Home screen.
Status Bar
Displays information, such as the number of data that are selected and the paper size.

 Note
Note
- You can use the View menu to show or hide the tool and status bar.

