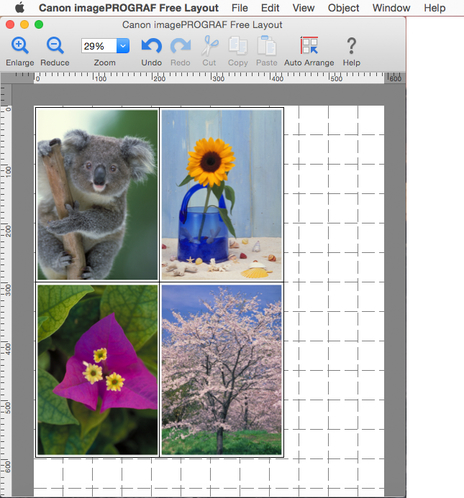
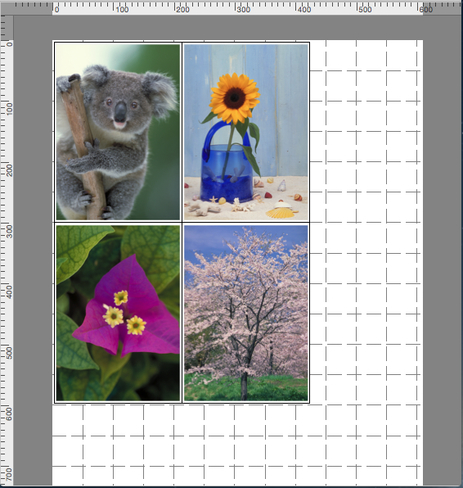
Free Layout Main Window
The Free Layout main window consists of a menu bar, tool bar and layout area.

 Note
Note
-
You can use the View menu to show or hide the tool.
Menu Bar
This allows you to select menus required for operations.

Tool Bar
This allows you to select tool buttons required for major operations.

 Enlarge
-
Enlarges an object.
-
You can also set this with Enlarge in the View menu.
 Reduce
-
Reduces an object.
-
You can also set this with Reduce in the View menu.
 Zoom
Zoom-
Displays the object with the specified scaling.
-
You can also set this with the Zoom dialog box.
 Undo
Undo-
Cancels the last edit.
-
You can also execute this with Undo in the Edit menu.
 Redo
Redo-
Restores the edit reversed with Undo.
-
You can also execute this with Redo from the Edit menu.
 Cut
Cut-
Cuts the selected object.
-
You can also execute this with Cut from the Edit menu.
 Copy
Copy-
Copies the selected object.
-
You can also execute this with Copy from the Edit menu.
 Paste
Paste-
Pastes the cut or copied object.
-
You can also execute this with Paste from the Edit menu.
 Auto Arrange
-
Automatically lays out the objects in the selected window.
-
You can also set this with Auto Arrange Object in the Object menu.
 Help
Help-
Displays the Free Layout guide.
-
You can also display this from the Help menu.
The Customize Toolbar panel appears when you select Customize Toolbar in the View menu. You can change the tool buttons that appear.
- Tool buttons that can be added
 Fit to Width
-
You can change the zoom scaling of part of the preview in the selected window so as to fit the width of the printing area of one page.
-
You can also set this with Fit to Width in the View menu.
 Fit Screen
-
You can change the zoom scaling of part of the preview in the selected window so as to display the entire printing area of one page.
-
You can also set this with Fit Screen in the View menu.
 Delete
-
Deletes the selected object.
-
You can also execute this with Delete from the Edit menu.
 Align Top
-
Aligns the selected object at the top position.
-
You can also set this with Align Top in the Object menu.
 Center Vertically
-
Aligns the selected object vertically in the center.
-
You can also set this with Center Vertically in the Object menu.
 Align Bottom
-
Aligns the selected object at the bottom position.
-
You can also set this with Align Bottom in the Object menu.
 Align Left
-
Aligns the selected object at the left position.
-
You can also set this with Align Left in the Object menu.
 Center Horizontally
-
Aligns the selected object horizontally in the center.
-
You can also set this with Center Horizontally in the Object menu.
 Align Right
-
Aligns the selected object at the right position.
-
You can also set this with Align Right in the Object menu.
 Rotate Right
-
Rotates the selected object 90 degrees clockwise.
-
You can also set this with Rotate Right in the Object menu.
 Rotate Left
-
Rotates the selected object 90 degrees counterclockwise.
-
You can also set this with Rotate Left in the Object menu.
Layout Area
This allows you to lay out objects and edit the object size and orientation.

 Note
Note
-
You can switch between showing and hiding the ruler and grid on the View menu.
Set the ruler unit and grid display settings in the Preferences Dialog Box.

