
Other Cases
-
Check 1 Is anything blocking paper output slot?
-
Check 2 Are transport unit cover and rear cover attached properly?
See Rear View for the positions of the transport unit cover and the rear cover.
-
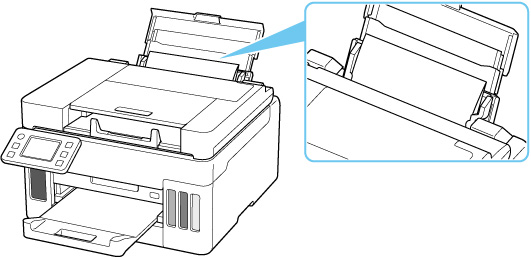
Check 3 Are there any foreign objects in rear tray?
Remove any foreign objects from the rear tray.
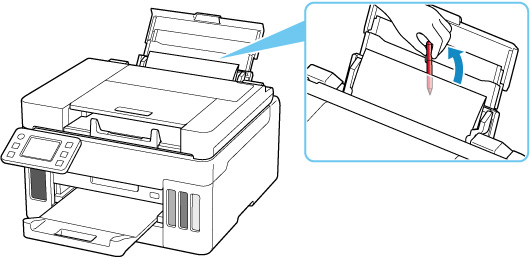
If a foreign object is inside the rear tray, remove it according to the following procedure.
-
Turn off the power of the printer and disconnect the power plug from the outlet.
-
Fold one sheet of A4 or Letter paper in half and insert it horizontally into the rear tray.
Insert the paper so that your hand does not directly touch the part in the center of the rear tray when removing the foreign object.
-
Remove foreign object by hand with paper inserted.
Put your hand between the paper you inserted and the rear tray to remove the foreign object.
-
Remove the folded paper inserted in step 2.
 Important
- When checking the rear tray or removing any foreign objects, do not turn the printer upside down or tilt it. The ink may leak out.
-
-
Check 4 Is paper curled?
Correct curl before loading paper.
-
Check 5 Is paper loaded properly?
The direction in which paper is loaded in the rear tray or cassette varies depending on the paper size. If you load paper in the wrong orientation, paper may not be fed or a paper jam may occur.
