
Cropping Photos (for Photo Print)
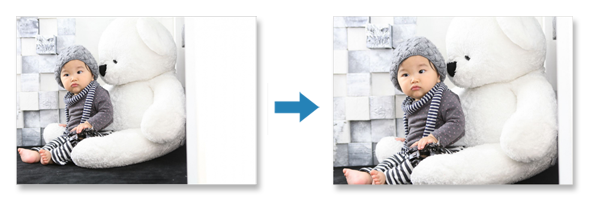
Cropping is the act of selecting the area you want to keep in an image and discarding the rest.
In photo printing, you can crop photos in the Print Settings screen.
![]() Important
Important
-
Windows
To crop an image, set Printer, Paper Size, and Borderless printing beforehand. Changing these settings after cropping an image will restore the image to the state before it was cropped.
Changing Media Type or Paper Source may also restore the image to the state before it was cropped, depending on the selected media type and paper source. -
macOS
To crop an image, set Paper Size beforehand. Changing the paper size after cropping an image will restore the image to the state before it was cropped.
-
In Print Settings screen, select the photo you want to crop, and then click Crop.
 Note
Note- The selected image will be outlined in orange.

The view switches to the Crop screen.
-
Enlarge/reduce or rotate image while previewing the result.
A: Preview Area
Displays the preview of the image being cropped.
Note- You can specify the area to crop by dragging the image.
B: Crop
- Enlarge or Reduce Image
- Drag the slider to enlarge or reduce the image freely.
- Rotate Image
- Drag the slider to rotate the image clockwise.
 Rotate 90 Degrees
- Rotates the image 90 degrees clockwise with each click.
 Frame Orientation
- Click to switch the cropping frame orientation between portrait and landscape.
- Undo
- Restores the image to the state before it was cropped.
-
Click OK.
The view switches to the Print Settings screen.
