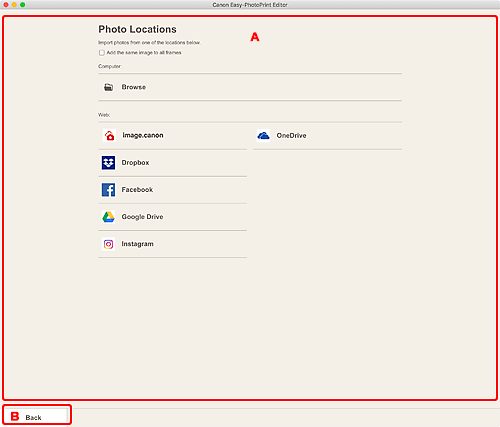
Photo Locations Screen
Select the import source of the photos you want to print or to use for your item.
Switch to the Photo Locations screen by one of the following operations.
- Click Photos in the New screen
- While creating a new item, click Next in the Select Paper Size screen
- Click Images or Select Image in the Item edit screen

A: Photo Locations Area
Select the import source of the photos you want to use.
- Add the same image to all frames
-
You can use the same image in all image layout frames within the page.
 Note
Note- This appears only when importing photos while creating a new business card, sticker, or ID photo.
- To place multiple copies of the same image such as when creating an ID photo, select this checkbox.
- It does not appear when adding or changing images in the Item edit screen.
- Computer
-
Click Browse to display the select photo screen.
Select the photo(s) you want to use, and then click Open.
- Web
-
Click a web service to start a Web browser and display the authentication screen of the web service.
Complete login to the web service to display the Select photo screen (web service).
 Note
Note- The displayed web services vary depending on the country or region.
- Internet connection is required to use a web service. Internet connection fees apply.
- To use a web service, preparation such as account creation is required beforehand.
- To log out from web services, click Logout from 3rd Party Service from the Help menu of the Home screen. Click OK in the Logout from 3rd Party Service screen to log out from all web services.
- To log into the web service with a different account, log out via Logout from 3rd Party Service, and then log in again.
B: Back
Return to the previous screen.

