
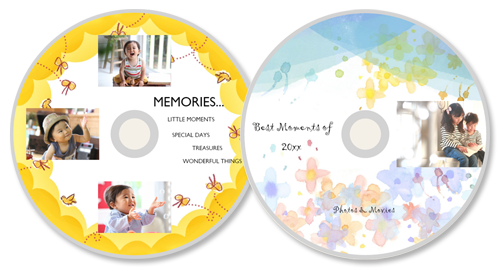
Printing Disc Labels (CD/DVD/BD)
Create and print personalized disc labels (CD/DVD/BD) from your favorite photos.
![]() Important
Important
- This function is available on supported models only.
- Do not set the multi-purpose tray or disc tray until a message prompting you to load a printable disc appears. Loading a printable disc while the printer is in operation may damage the printer.
- To set or remove the multi-purpose tray or disc tray, click Home to return to the top page of the Online Manual for your model and search for "Placing a Printable Disc."
-
In New screen, click Disc Labels.

The view switches to the Select template screen.
-
Select the template you want to use.
 Note
Note- To narrow down the templates, set the conditions in the Filter area.
The Select Paper Size screen appears.
-
Select paper size and click Next.
The view switches to the Photo Locations screen.
-
Select the photo(s) you want to use for disc label (CD/DVD/BD).
The view switches to the Item edit screen.
-
Edit item according to preference.
 Note
Note- The print area for disc labels (CD/DVD/BD) can be set in the Print Area screen (disc labels) displayed by clicking Advanced... at the bottom of the screen.
- To save the item being edited, click Save.
-
Click Next.
The view switches to the Print Settings screen.
-
Set Auto photo fix, Red-eye correction, print position, and number of copies to print.
-
Click Next.
The Print dialog appears.
-
Specify printer to use and other settings.
-
Click Show Details, and then check that 120x120mm is displayed in Paper Size.
-
Select Media & Quality from print options pop-up menu, and then select Auto Select or CD-DVD Tray in Feed from.
-
Click Print.
When a message appears on the printer's LCD monitor, set the multi-purpose tray or disc tray.
Note- To print disc labels with the same settings from the next time, save the settings specified in the Print dialog to Presets. For the save procedure, see Help of macOS. If the print result's color tone is faint, select Media & Quality in the Print dialog, and then select Best in Quality.
