
Registering Printer
Register the printer for which you want to check the printer status or color calibration execution status.
![]() Note
Note
-
The Calibration sheet does not appear for printers that do not support color calibration.
-
Click
 button (or select Manage Printer from File menu).
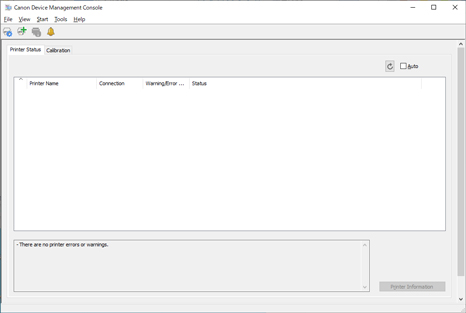
 Note
Note-
This operation cannot be performed when acquiring information from the printer.
-
If the number of registered printers is 0 or if you click the
 button in the main screen, then the Add Printer dialog box appears. Advance to step 3.
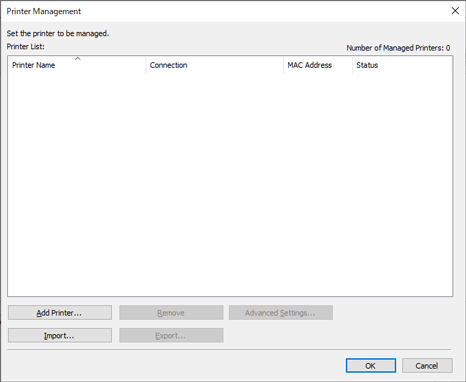
The Printer Management dialog box appears.
-
-
Click Add Printer button.
 Note
Note-
For details on the Printer Management dialog box, see "Printer Management Dialog Box."
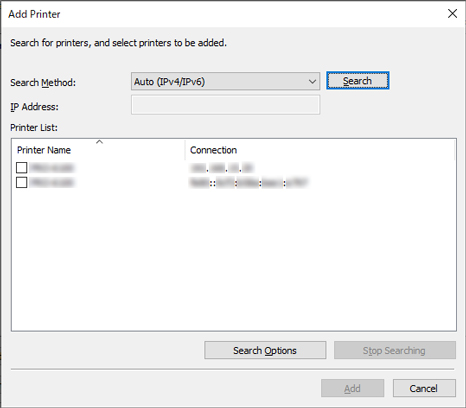
The Add Printer dialog box appears.
-
-
Select Auto (IPv4/IPv6) in Search Method, and then click the Search button.
 Note
Note-
To search by SNMP community, click the Search Options button, and then specify a Specify community name.
-
For details on the Add Printer dialog box, see "Add Printer Dialog Box."
The printers found appear in Printer List.
Note-
If the printer you want to register does not appear, check that the printer power is turned on and check the network status, and then search again.
-
When Search Method is set to USB, a search for local printers is performed.
-
-
From list of displayed printers, select check boxes of printers to register, and click Add button.
The registered printers appear in the Printer Management dialog box.
-
Click the OK button.
 Note
Note-
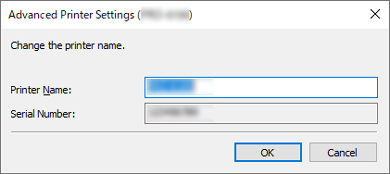
To change the displayed printer names, use the Advanced Printer Settings dialog box that appears when you click the Advanced Settings button.
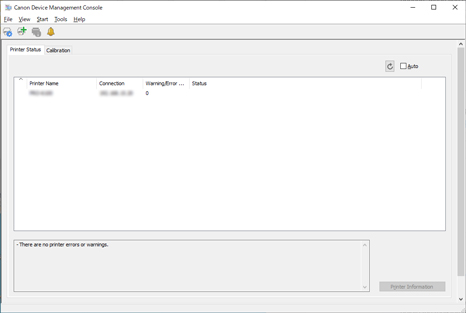
The registered printers appear on the main screen.
 Note
Note-
When switching the connection method of a registered printer between network and USB, first delete the registered printer, and then register it again.
-
